Effortless Map Alignment
Explore the new map alignment tool in Owlbear Rodeo

Since the launch of Owlbear Rodeo there’s been two features I’ve been on a forever quest to improve, aligning maps and adding fog.
For the six years of Owlbear’s existence I’ve been thinking about these problems almost weekly. Even though I believe we’ve had really good solutions we’ve never had the solution. But this time I think we’ve cracked it and map alignment is now both effortless to pick up but also lightning fast for experienced users.
Measuring the Past
Since the launch of Owlbear Rodeo 2.0 our solution to map alignment has been our transform rulers.
There’s some really neat ideas with these and they solve a bunch of problems in an elegant way. Images in Owlbear Rodeo have the basic options of rotation and scale but also image specific properties like DPI and offset. DPI represents the size of a single grid cell in the image and offset drives the images snapping point and center of rotation. The transform tool allows you to visually adjust all these values, it’s also been our solution for map alignment. The issue with the transform tool is it’s not very intuitive. I still believe that it can be easy to use once you get the hang of it but the tool doesn’t do a good job teaching you how to use it. This means that we’ve had to rely heavily on guides and tutorials for new users but a tool like this is really important so we needed something better.
I’ve tried to come up with a more intuitive transform tool so many times at this point but failed every time. It wasn’t until I shifted my thinking from “create the best transform tool” to “create the best alignment tool” that everything clicked. Instead of replacing the transform tool we build a new tool that is 100% focused on map alignment. So that’s what we did and I think this new tool has some stellar ideas that make aligning maps easier than ever.
Magnifying the Future
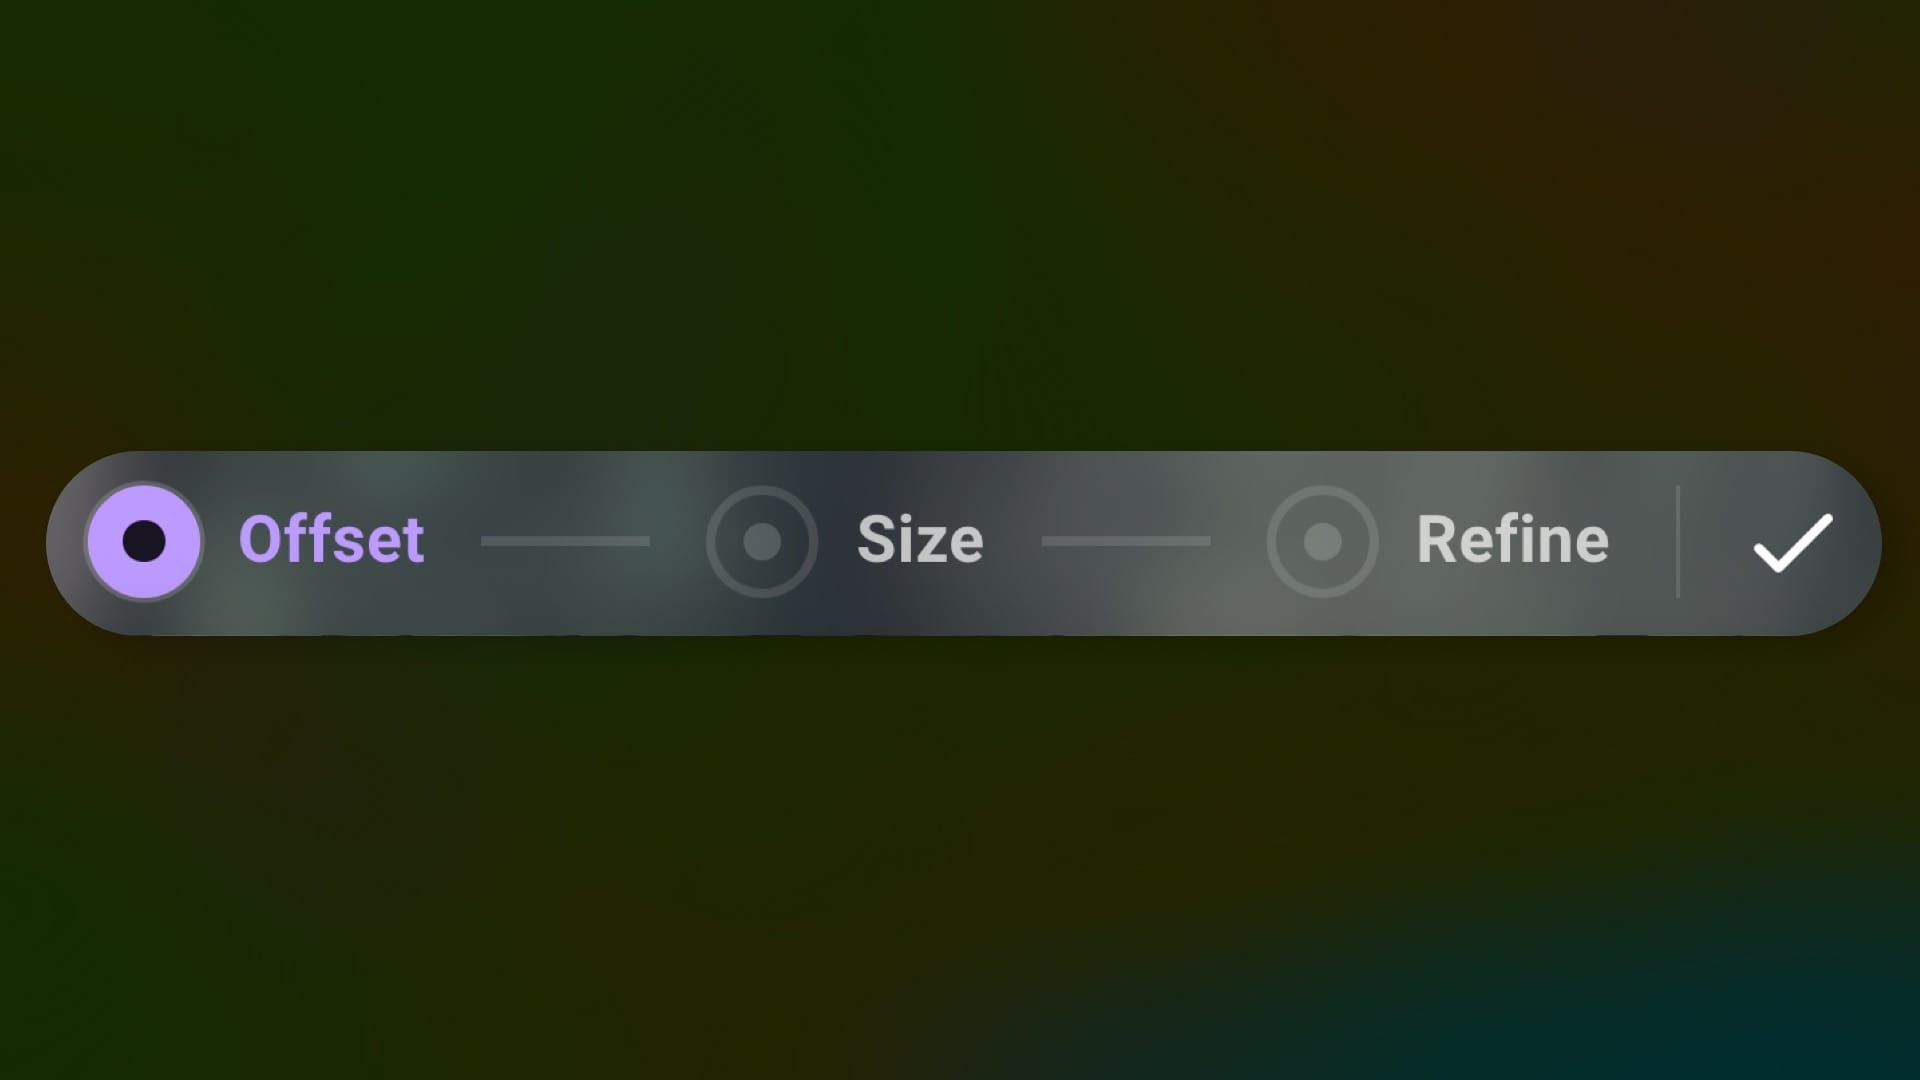
The new alignment tool starts with a three step process, the same one we recommended with the transform tool, but this time it’s at the core of the tools design.
You start with the Offset step. With this you drag on an anchor to align a point on your map with the Owlbear Rodeo grid. To make this as easy as possible the anchor seamlessly transitions into a large magnifying glass when you press down.
The Offset step. Map credit Mike Schley
The magnifying glass has a crosshair that matches the current grid shape (square, hexagon, etc.) which makes alignment a breeze. Don’t worry touch screen users, the magnifying glass will lift up to get out of the way of your finger so you can still see what’s going on.
After you’re done with the Offset step you can either hit the next button which appears right below your cursor or you can use the toolbar to head to the next step, Size.
The Size step allows you to set the size of a single grid cell. Simply drag the anchor and match the visual to your grid. When using other grid types the visual will match to make it as easy as possible.
The Size step. Map credit Mike Schley
Finally the last step is Refine. With this we show a highlighted grid over the entire map. Then as you hover over the corner of every grid cell a refinement anchor appears that allows you gently nudge the map into perfect alignment.
The Refine step. Map credit Mike Schley
Since you can refine at any point on the map you can fix the accumulated drift at the point where you can see it. This works great on hex maps which regularly have imperfect grids baked into their visuals.
What’s Next
I’ve been working on some major changes for quite some time now and while that’s not ready yet we thought we might tackle some of the issues we see the most. Grid alignment was towards the top of that list. Next is fog and I think we have something really special cooking so stay tuned for that. Aside from that come join us on Discord where we talk a lot more frequently about all the changes happening with Owlbear Rodeo.